Saturday, June 25, 2011

Boat House Progress

End of day Saturday progress shots...


Hoping to have siding up and windows set before leaving for the beach this week.

Thursday, June 23, 2011

Boathouse Progress

The roof is almost up.  It would be all the way up by now if it weren't for a snap decision to put an addition on our addition. ;)

It was HOT yesterday and, since most of our work was on the roof, we took a 1/2 day.  After my dedicated workers left, I taped out the perimeter of bar on the floor to determine where everything was going to be located so I could verify my window locations for framing the next day.

The space seemed so small.  I called in an emergency consult, and BW concurred so I requested another 4' be added to the width of the space.  My guys, EJ and AJ, were very patient with the request.  But for not much more in material costs, I will now have much more room inside to play with.

Framed roof - before the 4' addition
 Doesn't it look small?  Wait 'til tomorrow's progress pics.  The size is much more generous now.

Thanks for reading.  Stay tuned for more progress.


Monday, June 20, 2011

Boathouse Construction Starts Tomorrow!

I can't wait to get started in the morning.  I should probably be sleeping so I can keep up with Eric and Dad tomorrow but I've been researching and redesigning up to the last minute.

The Second Chance casement window find has elevated the project from a half enclosed, half screened, rustic shed into a more polished, fully enclosed version of my original vision and it's throwing me for a loop.  Also, the siding and roofing choices have changed several times for various reasons.  I'm just hoping it all comes together as a fun, hang-out space.

I don't want to ignore the fact that deconstruction happened on Friday.  Dad worked hard and I returned from swim team practice to a story of electrical arcing and flashes.  Apparently, the outlet in the old space was still live which Dad discovered while removing the metal wire staples.  After shutting down the circuit marked for the outlet, Dad almost got zapped while cutting the wire to the outlet.  Good thing we own mostly rubber handled tools!  Apparently, the previous home-owner was a real do-it-yourselfer and he tied the outlet into an unanticipated circuit.  Scary thing is...none of the circuits tripped either time!  I'd say a certain electrician has some work to do to figure this one out!

Going...
Gone!
Gone!
My Dad's the best!  He doesn't hesitate to live life on the edge helping his daughter with an improvement project.

P.S.  It looks so open and clean without that dilapidated old structure that I almost wish we weren't putting anything up in it's place.  Yikes!  But we need the boat storage and I can't wait for my first outdoor shower in my own yard  - so there's no stopping now!!!

Thursday, June 16, 2011

Updated Piggy

I added a clock to the little pig.  I actually like him both ways but the pig by himself was a little small and lonely and seemed like he needed a purpose.

BEFORE
AFTER

Wednesday, June 15, 2011

Score!

I scored some awesome vinyl casement windows at Second Chance today.  6 casement windows of various sizes for the bar shed for only $88.  It must be my new haircut (ala Donna) that inspired Tony to give me 75% off.  Either that or he felt sorry for me and thought I could use the savings to get a professional haircut.


They are in great shape and, because they don't need to be perfectly weather-tight, I felt comfortable using them in their recycled state.

The windows change the plan slightly.  Instead of screening one side, it will be completely enclosed with casement windows on all sides.  I'll need to get creative with the window configuration because of the various window sizes (2 square windows, 1 horizontal transom, 2 horizontal awning, and 1 large double casement) and the pitch of the shallow roof but I'm pretty sure I can make it work.  Heck, for $88, it was worth a try - right?

Some Revised and Some New Wood Panels

I decided that the duck's neck and feet looked funky so I fixed him...


And then I added some more fins and tweaked the body of the seahorse....


And then the rest are new...


Monday, June 13, 2011

Shower Door and a few more Pallet Panels

I finished a few more pallet panels.


potential shower door panel

I would like to sand the 4' x 5' white duck panel down a little more to reveal more of the teal and white paint under the citron.  And I'm going to see if I can frame this panel out so we can use it as the door for our outdoor shower.  Some of the gaps between the boards are a little wide but a few strategically placed towel hooks with towels on them should do the trick.


Saturday, June 11, 2011

The Boathouse and Shower Begin

We took a small step toward starting our backyard project today.  The boxwood bushes came out so we can determine the design and positioning of the shower and what type of stump grinder we will need to get rid of the boxwood roots and stumps.

BEFORE boxwood removal
AFTER boxwood removal
Not that it looks great but it looks better already.  We just need to brace the grapevine to get it off of the existing shed before we start demo. of the shed.  I hope the grapevine and two blueberry bushes make it through the construction.

AFTER boxwood removal
The pressure is off.  It is NOT going to be difficult to improve upon this.  Anything is bound to be better!  Stay tuned....

Thursday, June 9, 2011

Pallet Progress

Remember the pallets stacked near the firewood?  I dove into a pallet project today because my dedicated husband came home from work last night and made quick work of dismantling a few more pallets for me so the pressure was on to produce something worthy of calling in for backup.

As a test, I started off by making a small 15"w x 14"h pallet "canvas" with scrap wood to see how it would take the paint and to see how to best approach freshening up the wood without completely covering the weathered charm.


Here's my funky rooster.  I decided to hang him above the stove because, as luck would have it, the size was perfect for the spot which I have been trying to fill for awhile now.


I was encouraged with the result.  Next up is a 4'w x 5'h duck panel for the new bar area.  I plan to use some color on the duck and, this time, the duck silhouette will be white with a colored background.

Wednesday, June 8, 2011

Barn Girls

I visited The Barn and The Barn Girls on Friday.  It was a gorgeous sunshine-filled day and I roamed for awhile.  I've been trying to fit in a few fun outings just for myself before Jackie graduates from preschool and the rest of the Summer weather is filled with pool-time and other 5-year-old activities (which, for the record, I enjoy as much - if not more - than my solo outings).

I can't believe I didn't take more pictures of all of the cool stuff at The Barn this past weekend but I was so wrapped up in taking it all in that I only whipped my camera out a few times.  One day, I'll also get a picture of that cool Barn sign!  Here are a few things I saw there.

I purchased a Pepsi crate to go with our Coke bottle
we dug up in our old yard in Ellicott City.
I told Betsy about The Barn and she went later that same day
and got an old screen with iron detailing.
Close up of iron detail.
Cool square galvanized tray.  Perfect for an upholstered ottoman.
Tin topped table cast iron table.
Tin detail.  I must get a better camera that adjusts better to different lighting conditions!
I met Cari for the first time at The Barn, talked to Gail about pendant lighting options for above the boat bar, and talked to Pam for awhile too (I hope to continue my discussion with Pam about how to get closer to becoming a Barn Girl, myself).
Fun or hoky?
Get it?  "Ball" lights?

I left with a wooden Pepsi crate and without my "Blossom" glass pendant necklace.  Turns out, Cari had a thing for the stained glass pendant necklace I was wearing that day and I sold it to her right off my neck.  She contacted me afterward with another order for some "Winter Surfs" and possibly a few more to sell in her Fall show in Southern MD.  
I hope to entice The Barn Girls with a few other projects I have up my sleeve too.  


~ Donna


Is that our Shed?

Last post for now...and then I'll stop procrastinating in the delightful air conditioning and go back outside to beat on the wood pallets in the 90+ degree weather some more.

I can't find before pictures of our shed but I couldn't resist posting these "after" pictures.  I know it's just a shed but what a difference a few inexpensive materials and some sweat produced.  My Dad and I replaced the T-111 siding and fixed two holes in the roof with new shingles.  I painted.  And Steve lined the gaps with screen (to control at least some the critters from getting in there), edged the perimeter of the shed with stone, brick and pavers, and loaded everything neatly into the shed.  The angled bricks in the front were placed there temporarily to hold the brick perimeter in place until the Fall when we can regrade and seed.


I love getting organized.

The color of the shed may need to change next year to match the boat bar enclosure so I used some leftover Sherwinn Williams Wool Skein paint for now but at least it's got a nice new protective coating on it.  And the stone around the perimeter...what a great idea by my Dad to keep the dirt from kicking up onto the sides of the shed when it rains.

Is it Really Worth it?

I thought I would take these wood pallets...


And these silouettes...


...and turn them into some wall art.  I'm going to start with the duck.  

That is, if I ever figure out how to get the nails out of the wood pallets.  Who knew they made wood pallets to be so strong and stay together so well?  I realize they are designed to carry heavy loads but, seriously, I had to come in from the backyard for a break.  After one hour of pallet demo., I've only freed 4 boards from the pallet.  There must be a better way.  Hmmm...Steve?  That may be my better way ;)

Phase II Clocks - Funky Clock

I forgot to post this.  We finished the first of our Phase II clocks a few weeks back.  I'd like to make one more before moving on to the next project.  I think we won't make it to Phase III of clocks, after all.  We are all burnt out on the clock idea for now.  Now it's time to decide on the next project for the Craft Ladies.

Tuesday, June 7, 2011

Who Doesn't Love an Outdoor Shower?

Showering outside means Summer is here!  It reminds me of my time at the beach when life was much simpler and it didn't phase me that I was yards away from busy coastal highway in my birthday suit behind a mere 4 foot high enclosure.  And, now, what better way to clean up after a day at the pool or on the sand volleyball court and the dog's romp in the river? So, we've decided to work a shower into our backyard - only, this time, with a bit more privacy and no major highway adjacent to it.

Here's my inspiration....

Shingle-sided, out-building and one-by corner trim with shower stall attached.

Shingle siding.  I can't decide whether or not to include pergola .
Louvered shower doors?  Something to think about. 
This shower fixture is out of our budget range but I love the beachy props.
There are the louvers again.
I like the white against the grey shingles and the boat oars.
The rustic, weathered version.
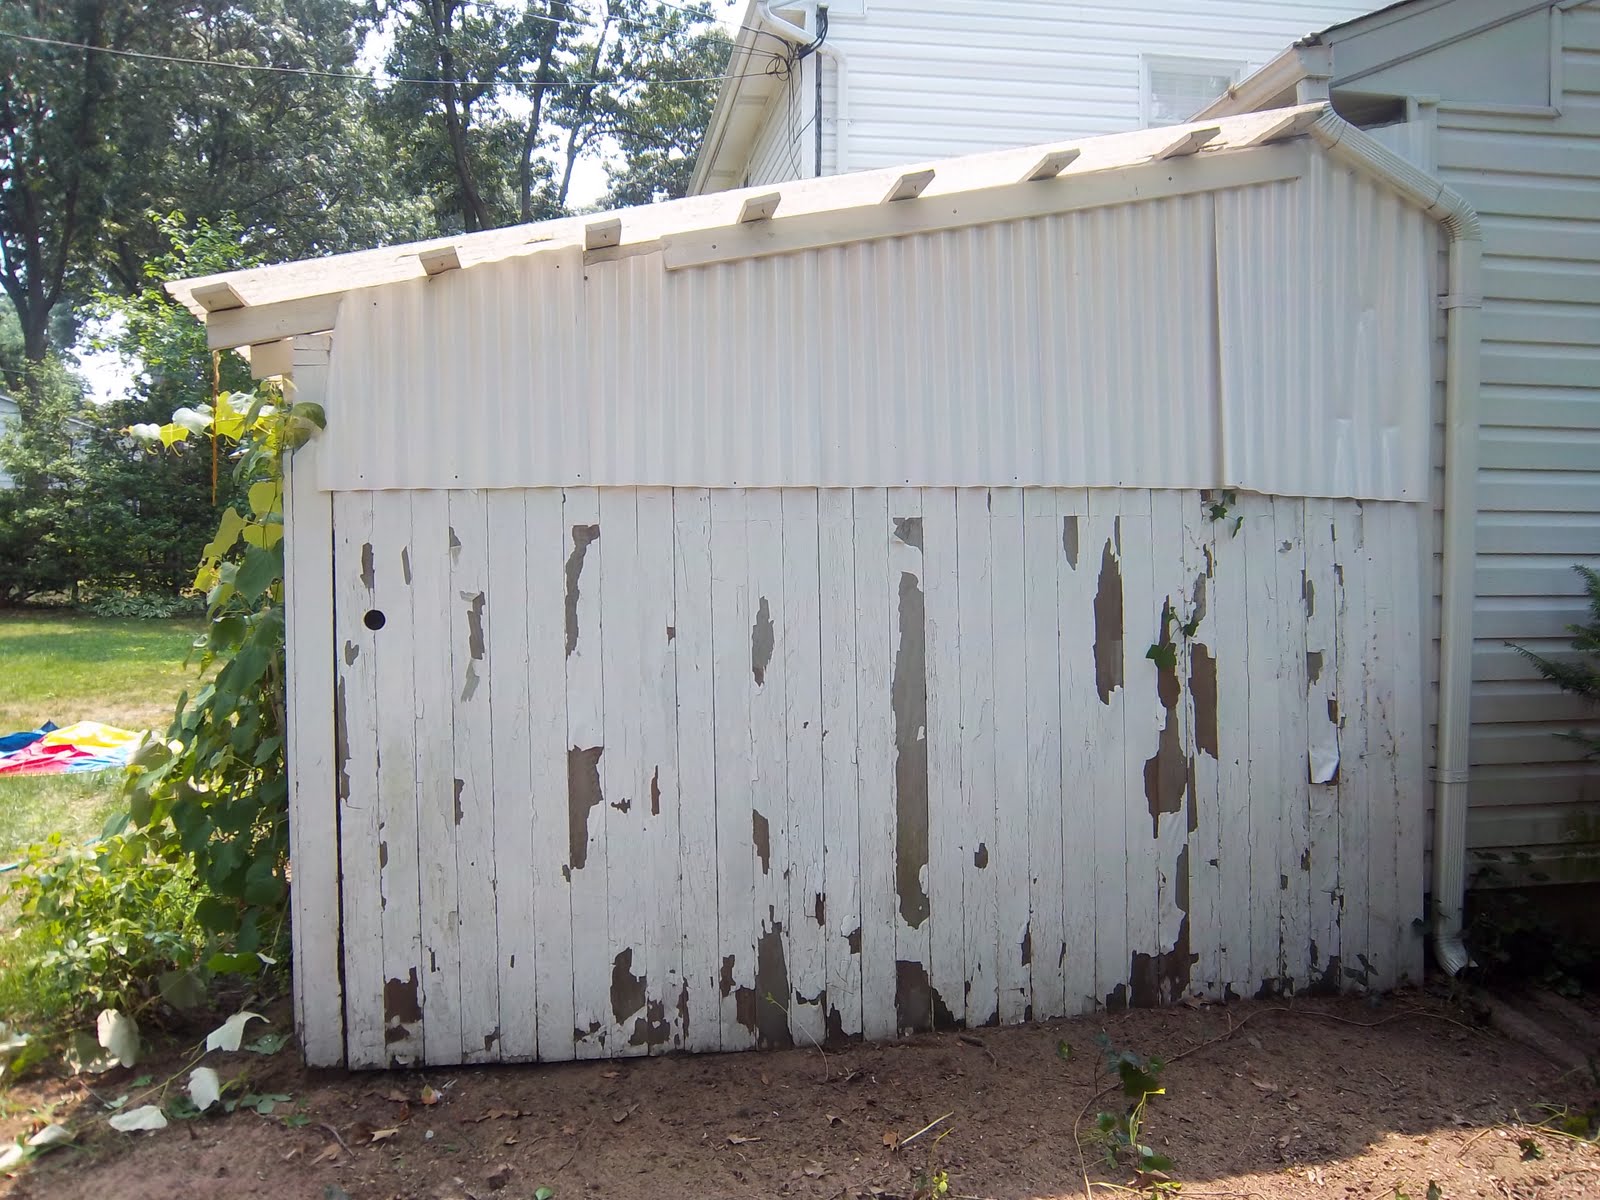
We've been considering our options for the concrete pad off the backyard side of the garage where a small covered shelter has seen it's last days and needs to come down soon before it falls down.  Right now, we are using it for garage overflow.  My future furniture projects are taking over and I need to swap them into the garage and move the boat bar out of the garage and into the backyard.  So, we've decided to rebuild the shelter but close it in with beachy shingle siding on two sides and screening on the third side.  The bar will reside under the enclosure.  The shower will flank the outside edge (one of the closed sides) of the enclosure, toward our side property line - offering privacy from both our house and our neighbor's.

The enclosure style for the boat bar will be Martha's vineyard meets boathouse tiki bar.  Huh?  I hope this works as well as I'm imagining.  Cedar-look shingle siding, stainless corrogated roofing, and simple one-by corner and window trim for the bar enclosure.  Cedar fencing panels or shingle siding to match the bar enclosure and composite decking for the shower.  I'm still working out the material details but I'm shooting to achieve something similar to my inspiration photos.

There's nothing like having many projects in progress simultaneously.  I can't wait to start finishing some of them.

~ Donna